While sending emails from your domain looks much more professional and legitimate than one of the popular free email service providers (Gmail, Yahoo, etc.), it comes with its own list of challenges. One of these is ensuring that your emails actually end up in your recipient’s inbox and don’t get marked as spam. There are things you can do behind the scenes to help authenticate emails sent from your website, thus improving their deliverability rate. One of these is creating a DMARC record in cPanel, so let’s do that right now!
What is a DMARC Record?
There are three email “standards” in place designed to authenticate an email from your website to your recipient.
In other words, these standards are in place so that when you send an email from your site to someone with say a Gmail account, Gmail can verify that the email did indeed come from your website and not some scammer or spammer who is pretending to be you.
The three email standards are SPF (Sender Policy Framework), DKIM (DomainKeys Identified Mail), and DMARC (Domain-based Message Authentication, Reporting, and Conformance).
I recently did a tutorial on how to setup SPF and DKIM to help you avoid the spam folder, so refer to that for the first two pieces of the puzzle.
By creating a record of each of these with our website’s host, the Gmails and Yahoos of the world can verify that messages which we send from our site are legit.
Just as importantly, without these records the Gmails and Yahoos of the world can and might mark messages which claim to be from our site as spam. In other words, once these records are created, it makes it much more difficult for spammers to successfully exploit/spoof our site for their scamming purposes.
How to Setup DMARC in cPanel
cPanel is a software most hosting providers use to allow clients to interact with their websites behind the scenes.
Among the many things you can do in cPanel is setting up a DMARC record for your website.
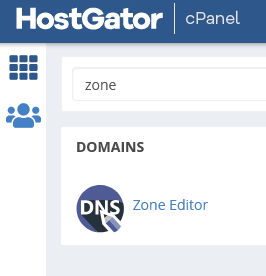
Log into your personal cPanel using the login info your hosting provider gave you, and find the Zone Editor icon.
You can just search for “Zone” in the search bar at the top to find it quickly:
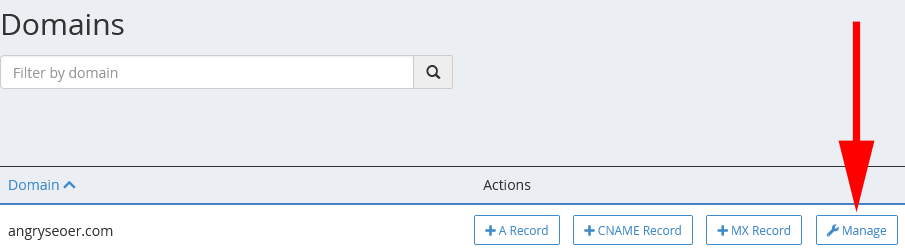
Here you’ll find a list of all of your domains. Navigate to the domain you want to create a DMARC record for and click the “+ A Record” button:
Next, fill in the boxes like shown (replacing the domain with your own).

Here’s a sample DMARC record (feel free to paste this in, updating the email with your own):
v=DMARC1; p=quarantine; sp=quarantine; rua=mailto:dmarc-youremail@yourdomain.com;
pct=100; aspf=s; adkim=s
The language used in this record essentially says:
- First, it’s a DMARC record.
- That emails which don’t pass the authentication checks of SPF and DKIM should be quarantined.
- That you show get a report sent to your email address letting you know if and when emails which claim to be from your domain are quarantined.
- That this policy should be in effect for 100% of emails from your domain.
Click “Save Record” and the DMARC record is in place.
Again, do not do this until you’ve created SPF and DKIM records and have had them properly working for at least 48 hours.
In Summary
- Setting up a DMARC record on your website shows that you take authentication seriously in the eyes of your clients’ email service providers.
- This helps to ensure both that your emails end up in your recipient’s inbox, and anyone trying to spoof your website, IE sending emails from your website who aren’t you, will fail.
- Setting up a DMARC record is easy to do in cPanel using the information above, so get on it after you’ve set up your SPF and DKIM records!
Happy spoof-proof emailing!